
Infrared Photography Experiment
Experiment Kickoff: 2/6/99
Status: Ongoing
All anomalous activity is believed to be composed of, created by, or associated with some form of measurable energy. Evidence suggests that in some cases, at least a portion of this energy falls into the infrared spectrum of light. This would explain the appearance of anomalous images on equipment that is sensitive to infrared light (See our research page for more information on this phenomenon). Infrared photographic film is also sensitive in part to the portion of infrared light called near-infrared, and so it should allow a similar ability to capture any anomalous activity that is associated with the near-infrared spectrum of light when used in conjunction with a standard 35mm SLR camera.
This page is broken down into the following sections:
Facts about Infrared - A brief explanation of infrared light, including types of infrared light that are visible and invisible to infrared sensitive film.
Infrared Photography Experiment Results - Up to date results from our use of infrared film through the course of several investigations.
Examples of Infrared Photography - Examples of photographs taken with infrared sensitive film. No anomalous images.
Key points when working with infrared film - Things to keep in mind if you decide to try infrared photography yourself.
Facts about Infrared
Infrared light, just as ultra-violet light, is all around us. While we cannot detect it with our eyes, certain instruments and types of media are sensitive to these invisible spectrums of light and can capture them. They can then render them in such a way that their otherwise invisible light is represented in a visible fashion. Infrared light can be divided into three regions, near IR, middle IR, and far IR, depending on wavelength. While all of these infrared regions are invisible to the naked eye, each has distinct characteristics that differentiates it from the others. Of primary concern in this document, far and middle IR, which are typically characterized by heat emission, are not visible to infrared-sensitive film. Film sensitive to infrared light, such as Kodak HIE Infrared, is sensitive only to near IR, specifically the major portion of it closest to the visible light spectrum. The chart below lays out the optical spectrum of visible and invisible light, and shows the relationship between the different infrared regions.
Infrared Photography Experiment Results
We have used infrared photography on three separate occasions during the course of our investigations. They are as follows:
February 1999 - White Cemetery - No anomalous results captured on film.
February 1999 - Mt. Thabor Cemetery - No anomalous results captured on film. Highly under-exposed. Experienced camera difficulties.
April 24, 1999 - Bachelor's Grove Cemetery - Results expected week of 5/3/1999.
Examples of Infrared Photography
The following photos are representative of the nighttime infrared photographs that we have taken. We have not yet been able to capture any evidence of anomalous activity on infrared film.
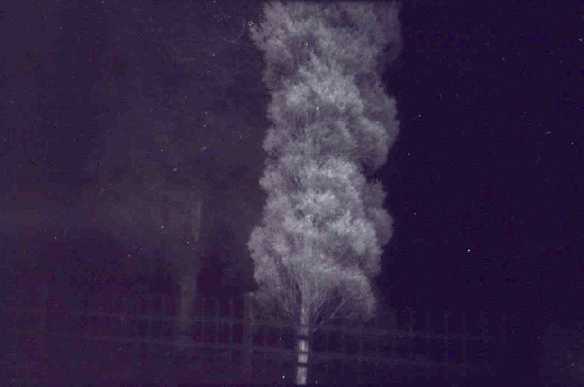
Tree - February, 1999 - White Cemetery. The tree in this photograph that appears white was actually dark green. A red #25 lens filter was used to block out a portion of visible light, and the remaining light hitting the negative is composed primarily of infrared, which is represented as white.
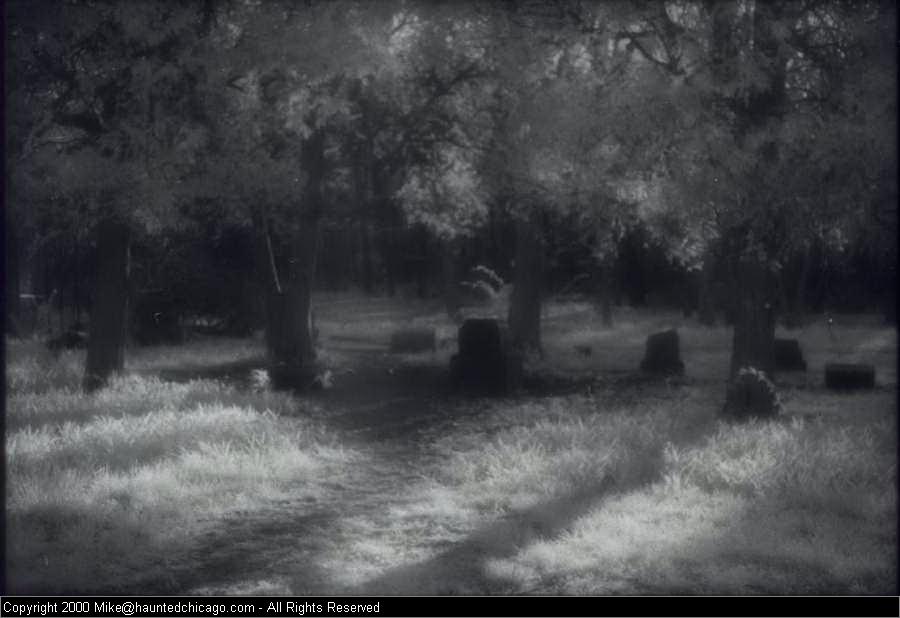
Grove 1 - April 24, 1999 - Bachelor's Grove Cemetery. The white appearance of the trees and grass is once again the infrared light being reflected by those objects. By using a #89b lens filter, almost all visible light is blocked from entering the camera. (Minolta X-370, Kodak HIE 135-36, infrared #89b lens filter)
Grove 2 - April 24, 1999 - Bachelor's Grove Cemetery. (Minolta X-370, Kodak HIE 135-36, infrared #89b lens filter)
Grove 3 - April 24, 1999 - Bachelor's Grove Cemetery. (Minolta X-370, Kodak HIE 135-36, infrared #89b lens filter)
Hageman - April 24, 1999 - Bachelor's Grove Cemetery. (Minolta X-370, Kodak HIE 135-36, infrared #89b lens filter)
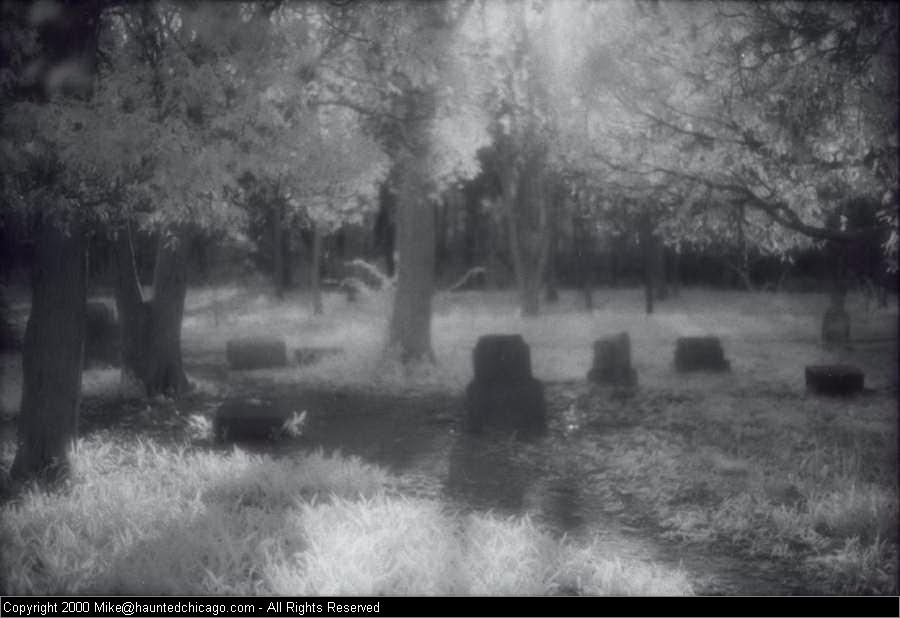
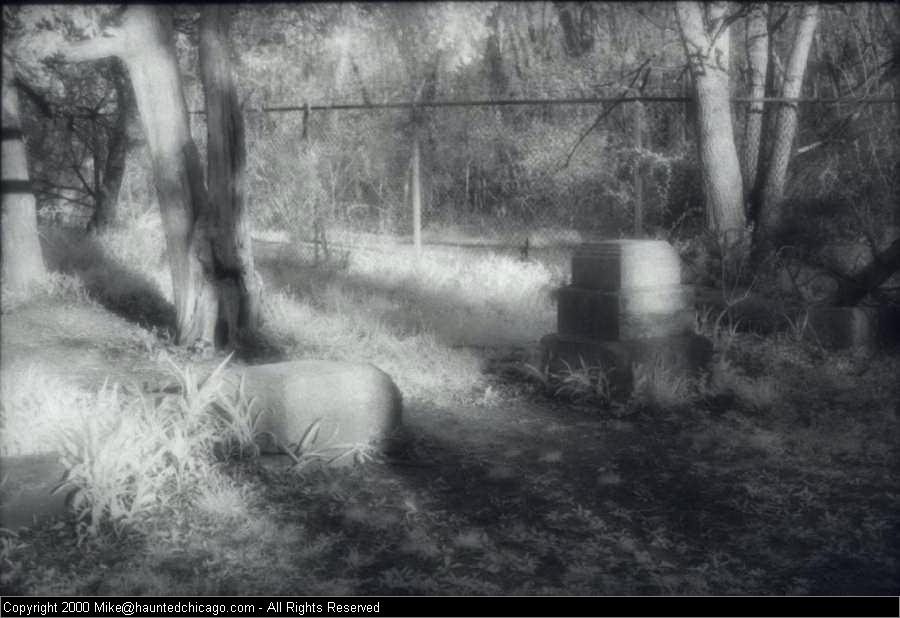
Stones 1 - April 24, 1999 - Bachelor's Grove Cemetery. (Minolta X-370, Kodak HIE 135-36, infrared #89b lens filter)
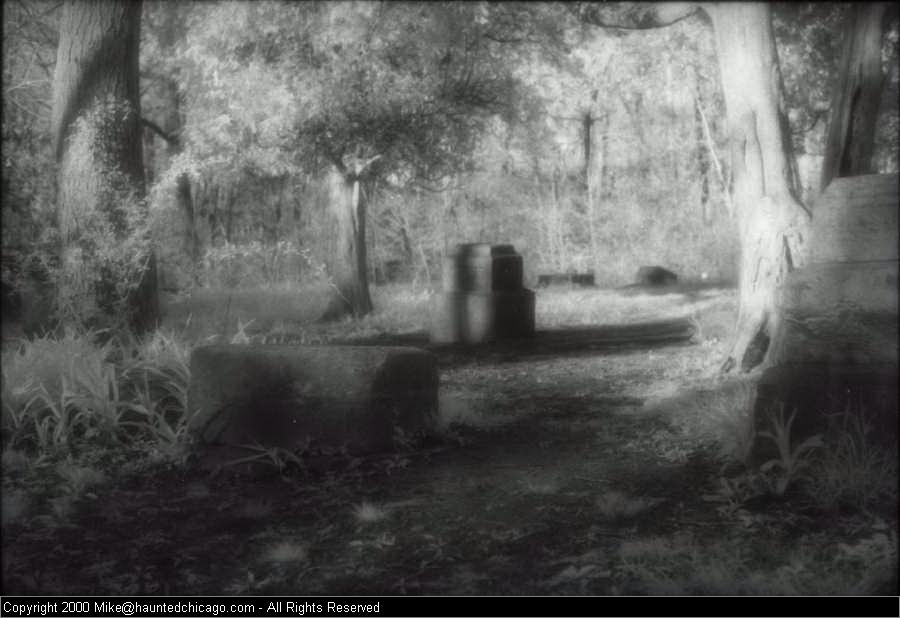
Curbing - April 24, 1999 - Bachelor's Grove Cemetery. Although there is a lot of contrast in this image, the area that was directly illuminated by the Sun is washed out and over-exposed. This is one of the risks of using infrared film during daylight hours. (Minolta X-370, Kodak HIE 135-36, infrared #89b lens filter)
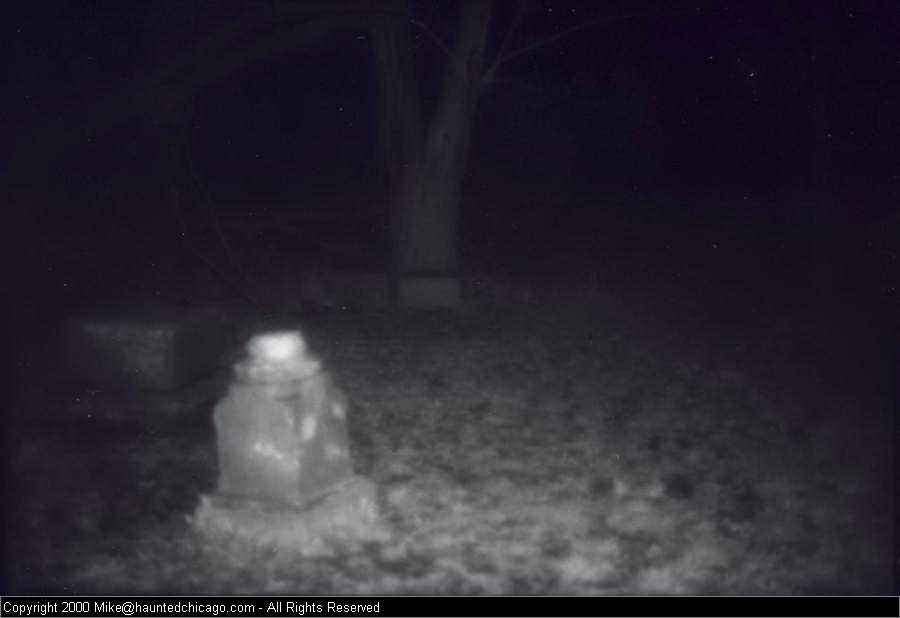
Nighttime Stones - April 24, 1999 - Bachelor's Grove Cemetery. This nighttime image didn't turn out too bad. While the background is rather dark, details of the tree can still be made out. A flash was used with this photo, and a longer exposure time would have yielded even better results. (Minolta X-370, Kodak HIE 135-36, flash)
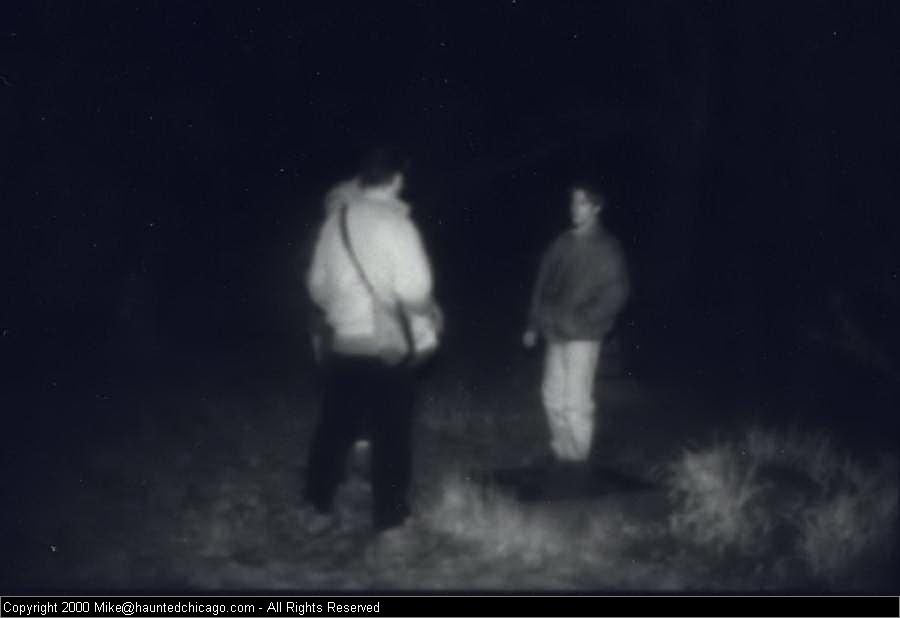
Focus - April 24, 1999 - Bachelor's Grove Cemetery. Notice the poor focus in this image. Focusing through the lens without IR compensation will yield results like these. This is due to the fact that the infrared light, which is composed of light of a longer wavelength, focuses somewhat behind the negative. (Minolta X-370, Kodak HIE 135-36, flash)
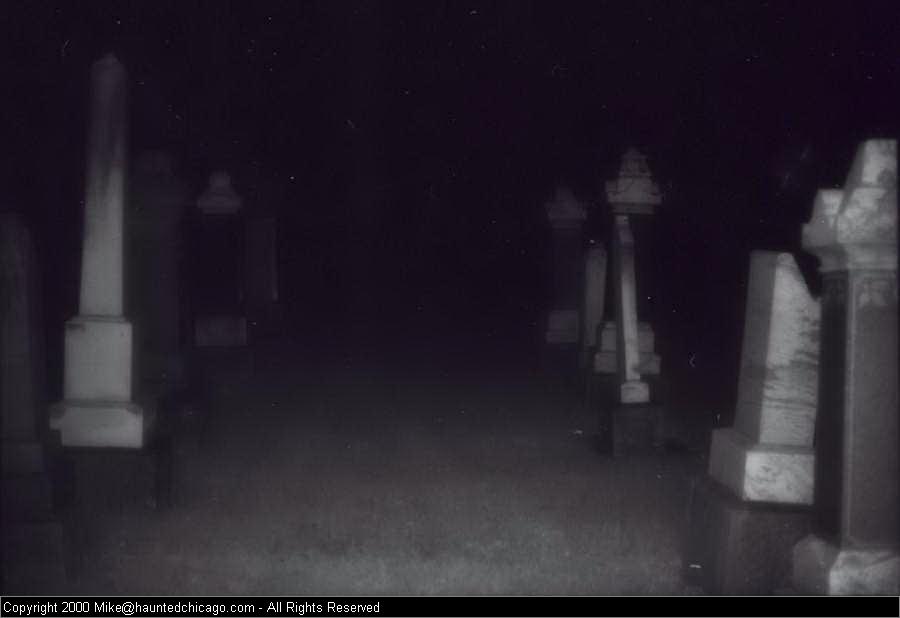
Row - April 24, 1999 - Irving Park Cemetery. (Minolta X-370, Kodak HIE 135-36, flash)
Key points when working with infrared film


© 1998-2002 Hauntedchicago.com - All rights reserved
Attention: All material on this website is copyrighted by the respective owner. Unauthorized use of any material or information from this website, including but not limited to images and written information, is expressly forbidden without prior written permission of the copyright owner. Use this site at your own risk. We present our findings for the sole purpose of our viewers' enjoyment and do not encourage or endorse illegal or dangerous activity. Do not trespass on private property or where posted. You are responsible for your own actions, we can not be responsible for the actions of visitors to our website. By using our website, you agree to be bound by our acceptable use policy. If you do not agree with our policy, you may not use our site. For questions or concerns, please contact the webmaster.